


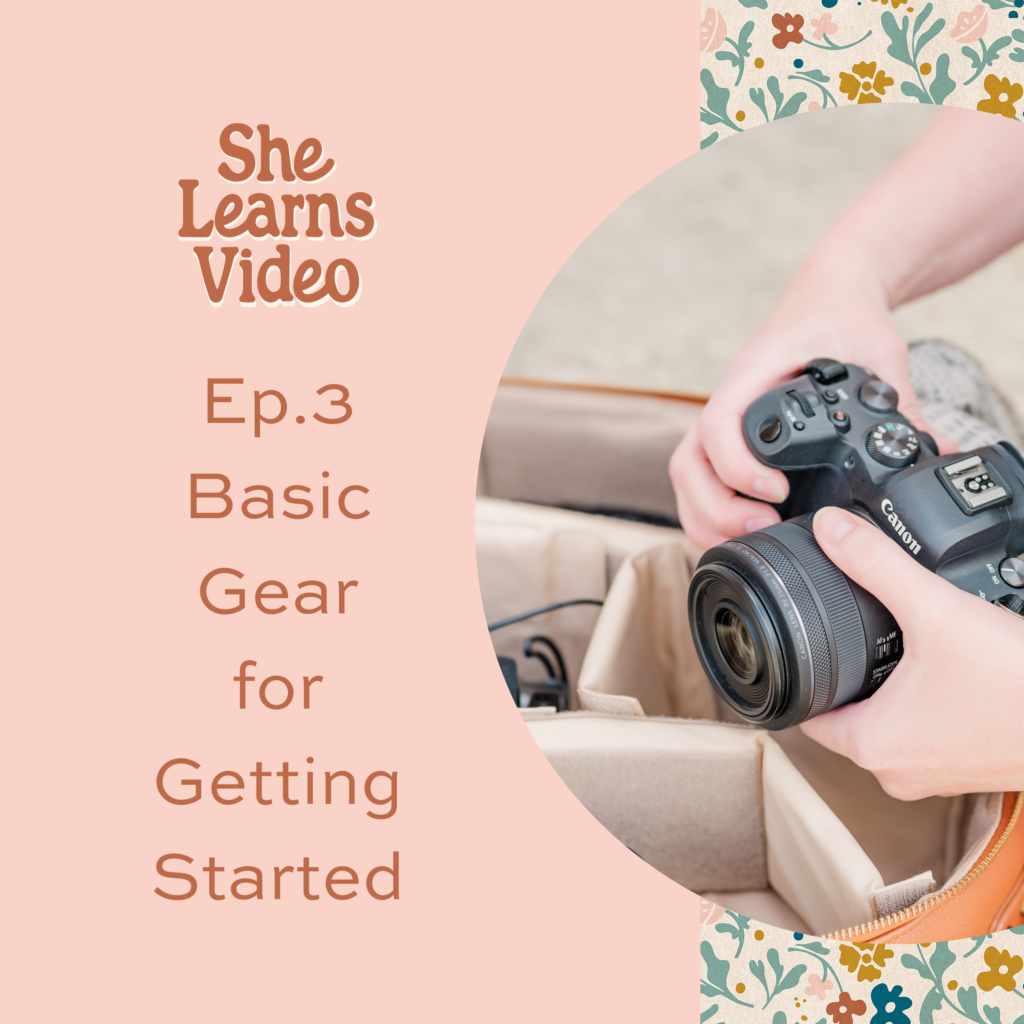
In Episode 3 of She Learns Video, we are going to be talking about all things video gear. We are going to cover a variety of gear focusing on both tools, good for short form video content like social media and then other tools that might be necessary to do more long form content like YouTube or educational content.
Links:
Website: www.shelearnsvideo.com
30 Reels in 30 Minutes Planner: www.shelearnsvideo.com
YouTube: www.youtube.com/shelearnsvideo
Tools + Gear List: https://kelliwhitephotography.com/resources
Full Transcript:
Welcome back to She Learns Video. Today on the podcast, we are going to be talking about all things video gear. We are going to cover a variety of gear focusing on both tools, good for short form video content like social media reels, TikTok, and then other tools that might be necessary to do more long form content like YouTube or educational content.
After the episode, you can find all of the links to the items that I mentioned in our gear guide over@shelearnsvideo.com. Okay. So the first tip I will give you is to not go out and buy a bunch of new tools. Start with what you have. You honestly don’t need to have much to get started with video. I think often we let the whole argument of, oh, I need a new light or a new camera before you can get started, hold us back.
But honestly done is better than perfect, and I am really talking to myself here as well. It can be really hard to get started when you are doing something new or a little scary, like putting yourself on camera. But like anything, the more you do it, the easier it gets.
First up, we’re gonna talk about cameras, and again, here, I encourage you to utilize the camera that you already have. For many of us, this is going to be our iPhone. Your iPhone has a ton of video capabilities, so I feel like this is the best fit for the majority of business owners looking to create social content.
Oftentimes people ask me, what camera should I buy to start making better videos? And sometimes the answer is just to upgrade your iPhone. Even if you’re a photographer or videographer, I encourage you to create social content with your phone. People enjoy watching behind the scenes or a day in the lifestyle content, and they don’t always need it to be overly polished or produced.
If you do want to create more long form , content for your website or for YouTube, you might decide to invest in an actual camera.
For my photographers out there, you will already have a D S L R or mirrorless camera, which is perfect, and the vast majority of these will meet all of your video needs.
There are also a number of good vlogging cameras out there on the market if you don’t already have a camera and you wanna make a [00:02:00] purchase. I’ve personally heard a lot of great things about the Sony Z V one, which is a fairly affordable option and has a ton of great features. I’ve actually been thinking of maybe picking one up myself for kind of on the go shooting. For my kids and my family when we’re traveling, and I just don’t wanna lug around my big mirrorless camera,
all right, so now we know what camera to use. The next thing I wanna talk about is audio gear. The one thing I will say about audio is that all of your cameras will have a way to record audio. So adding a mic is an upgrade that you will kind of have to determine when you want to make, if you’re serious about making a lot of video content, a microphone can be a quick and fairly affordable way to make your videos that much more professional.
The other thing I will say here is that audio matters. Think about it, because if your video is a little shaky, people will probably still hang around and watch and listen to the video. But if the audio is garbage, it’s too loud, too soft, kind of scratchy, lots of background noise. No one is going to want to listen for an extended period of [00:03:00] time, no matter how great the video quality is. They’re gonna be really distracted from what you’re saying and they’re just not going to want to stick around.
So let’s chat about what you might want or need as far as audio gear.
The first thing that I’m going to recommend are RODE mics. So RODE is spelled r o d e. It’s a brand name that makes great microphones for really all of your audio needs. They have mics that work with your iPhone as well as hot shoe mics that sit right on top of your camera. I have three road mics myself.
I have the road video mic go, which is perfect for using with your iPhone, you can get mounts that actually allow you to put this microphone right on top of your phone. And I use this sometimes if I’m creating social content and I’m on the go, the phone is obviously the tool of choice when you’re out and about, and the microphone gives you the ability to create better audio quality.
The next mic I have is the Road Video Micro, which is a great entry level mic. It’s very affordable. It’s sits on the hot shoe on top of your D S L R or [00:04:00] mirrorless camera, and it was the first mic I purchased when I decided to start creating videos for my photography clients.
I encourage any photographer who is thinking about getting into the video space to make a purchase like this. The other option, and what I essentially upgraded to after I had been doing video for a few months is the Road Video mic Pro. Which is the next level up and it comes with some additional tools to help you control the volume of the audio and kind of the background noise that you might be picking up.
So look into the RODE mics. There are a lot of different options and I have had a lot of great success with them.
The next item is called a lavalier mic, and those are those little tiny mics you see people holding on Instagram reels. It’s a small microphone that you can attach to your lapel for interviews, or you can hold it and speak into it if you wish. There are both lavs that have their own recorder attached, and then lavs that also work with your iPhone.
RODE makes a tool called the Smart Lav that you can plug into [00:05:00] your phone, so that’s an option. Again, if you’re trying to stick with the RODE mics, there are tons of options. I was looking on Amazon yesterday, so many different options for these small microphones that might be a good fit for creating social content. If you want to get more quality audio,
Personally, I use my mirrorless camera for a lot of content creation because I am a videographer and I use the task cam D R 10 L, which is a lavalier mic made by task cam. That’s the brand name. I use this for audio with all of my interviews for both brand videos and wedding films. It is honestly a really great tool that I frequently use.
I own two of them so that I have a backup. If I’m micing two people, it’s also really handy and this is a mic that is held up really well for me over time. So something you might wanna check out if you are really deciding to dive into the video space.
Again, having a mic is not a must have by any means, but if you are looking to uplevel your videos, do a lot of interviews, it’s a [00:06:00] really nice addition that will help you to capture great audio for your video content.
Next up we’re going to chat about tools you can use to stabilize your camera or hold the camera still while you are creating either short form or long form video content.
A tool that many people have sitting around at home is a tripod, so this is perfect for really creating any type of content. I use my tripod a lot for YouTube videos
I have a few different size tripods and one of my favorites is called the Switch pod. This allows me to use it as a small tripod, and then it also moves so that you can hold it as a handheld stabilizer. I really like this one for my phone or when I’m on the go and traveling and needs something small because it packs up really, really flat and easy to travel with.
So most of the tripods that you pick up are going to have the opportunity for you to mount a camera to it, but you will need to add a phone mount for creating any video content with your phone if you don’t already have one.
Most iPhone mounts attached to [00:07:00] tripods and light stands really easily. Some of them even have the little hot shoe slot on the top that if you’re adding a microphone, you can add that in there. I have one of those. It’s really nice for using that road video mic go.
So make sure you pick one of those up. If you’re new to starting video content and you don’t already have one.
The next tool I use for stabilizing my camera is my camera strap. So I actually have a stretchy camera strap, and when I’m shooting video content for clients, whether that’s for a family session, a brand session, on occasion, I will utilize the camera strap to hold it. Tight behind the back of my neck and I put my arm straight out so that my camera is a little more stable than it would be if I was just shooting handheld without the camera strap held in that tight position. It essentially gives you another point of contact with your body, which is going to hold that camera a little more still.
The other tool I have that I use all the time for brand films and at weddings is my [00:08:00] monopod. So that’s just like a tripod, but it has the one stick and gives you a little more flexibility than a tripod does. I would say a monopod is really only necessary if you are a full-time content creator, a videographer, someone who’s a photographer looking to get into video, it can be a really nice step to stabilize your camera and make your footage look nice and smooth.
Next up, let’s talk about light. So for many of us creating social content, I really just encourage you to stand in front of a nice big window. Face the window somewhere that it’s not direct sun coming through the window so that you essentially have a nice, big, soft light shining on your face while you’re making videos.
If you do record in the evening, I know sometimes I can’t record until my kids go to bed. A ring light or l e d panels are a really nice upgrade in order to get quality light when you are making videos. Personally, I have a ring light and a few different types of L e D panels that I [00:09:00] use dependent upon the type of content I am creating.
So I will definitely link those. There are so many affordable options out there for lights. You really just want something that is consistent and is going to give you better light than an overhead light in your home. Would
so keep the lighting simple you really just want something easy and quick to utilize when you’re making video content.
If you are someone who is stepping from photography into video, I really encourage you to pick up some of those L e D light panels. They’re really nice for when you’re on location, whether you’re doing interviews or you’re shooting in someone’s home, they give you the ability to control the light in your space a lot more easily.
Okay. The last tool isn’t necessarily a physical tool, but it’s something that you need in order to start creating videos, and that is an editing software. In the beginning, if you are new to creating videos and you have a Mac, I always encourage people to utilize iMovie. It’s a really easy to use tool, super intuitive, and it’s free on your Mac.
The other program I like a lot is called [00:10:00] Adobe Premier Rush. So personally I edit with Adobe Premier Pro. That’s kind of the professional level software that they have, but they have another tool called Rush, and it is similar to iMovie in the sense that there’s fewer bells and whistles, but really gives you the opportunity to accomplish your goal of editing your film, making it look great.
You can do transitions and you can adjust the color. There’s lots of basic tools that you need when you’re just getting started with video.
iMovie and Premier Rush are perfect for that longer form content. If you are creating content on your phone, you should look into a few tools. One’s called Video Leap and the other one is called Cap Cut. These have been great tools, as I myself, have been creating Instagram reels and YouTube shorts. I like that they give you a lot of templates to utilize so you can drop your video content in quickly and. I like these tools because they’re simple and easy to use. I feel like anyone who is new to the video space and new to making short form video content [00:11:00] can utilize them pretty quickly and easily. You can also edit short form video directly in the program that you’re utilizing. So if you’re utilizing Instagram, you can edit your videos right in there. And they have some templates as well that you can find when you’re scrolling through different reels and TikTok as well. You can edit over on that platform.
These have been really easy tools that I’ve liked to utilize in my own business, and hopefully they’ll help you if you are new to creating short form content.
All right. Thanks so much for listening today. As I said in the beginning, we have a full gear list over@shelearnsvideo.com and over on the YouTube channel. I walk through a lot of these tools in my videos, so be sure to go over to She Learns video on YouTube and subscribe to Stay Up to Date with all of the latest content.
We will be back next week with a new episode.


+ view comments . . .